Peanut Butter Blossom Cookies
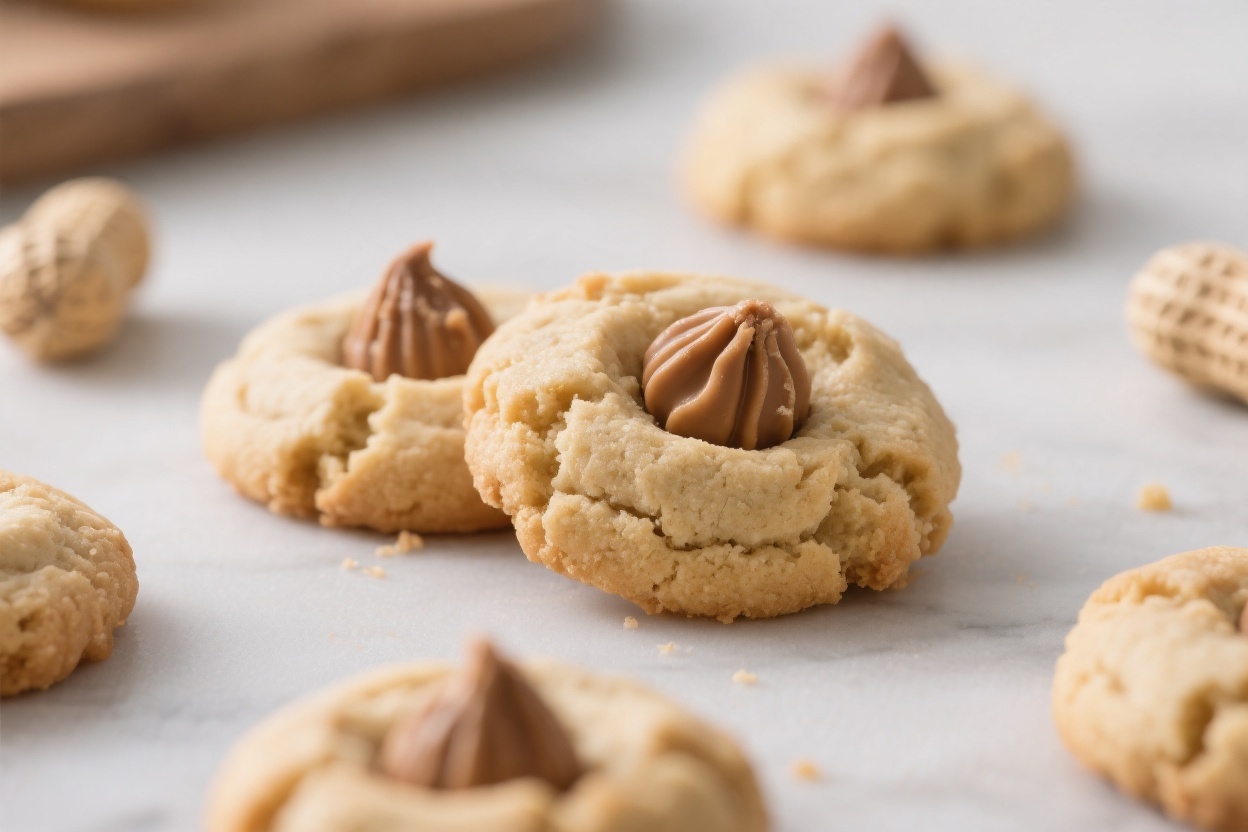
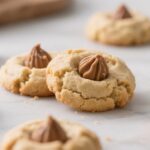
Peanut Butter Blossom Cookies are the kind of treat that makes everyone smile. They’re soft, slightly chewy, and crowned with a melty chocolate kiss that settles into the center like it was meant to be there. These cookies are perfect for holidays, bake sales, or a weeknight craving.
The dough comes together fast, and the results are consistently great, golden edges, tender middles, and that signature peanut butter–chocolate combo. If you want a cookie that looks special without a lot of effort, this is it.
Why This Recipe Works
- Classic flavor pairing: Peanut butter and chocolate are a timeless match. The salty-sweet dough balances the smooth chocolate perfectly.
- Soft texture that lasts: Creamed butter and sugar create a tender crumb, and a touch of milk keeps the cookies soft for days.
- No chilling required: The dough is sturdy enough to roll immediately, saving you time.
- Sparkly finish: Rolling the dough balls in sugar gives each cookie a light crunch and a pretty, crackly top.
- Foolproof timing: Baking the cookies first, then pressing in the chocolate, gives that iconic blossom look without melted mess.
Ingredients
- 1/2 cup (1 stick) unsalted butter, softened
- 1/2 cup creamy peanut butter (not natural; use a standard brand for best texture)
- 1/2 cup granulated sugar, plus more for rolling
- 1/2 cup packed light brown sugar
- 1 large egg, at room temperature
- 1 teaspoon vanilla extract
- 1 tablespoon milk (whole or 2%)
- 1 1/2 cups all-purpose flour
- 1 teaspoon baking soda
- 1/2 teaspoon kosher salt
- About 36 chocolate kiss candies, unwrapped
Instructions
- Preheat and prepare: Heat your oven to 350°F (175°C).
Line two baking sheets with parchment paper.
- Cream the fats and sugars: In a large bowl, beat the butter, peanut butter, granulated sugar, and brown sugar until light and fluffy, about 2–3 minutes. This step builds structure and keeps the cookies soft.
- Add wet ingredients: Beat in the egg, vanilla, and milk until smooth and well combined. Scrape down the bowl as needed.
- Whisk dry ingredients: In a separate bowl, whisk together the flour, baking soda, and salt.
- Combine: Add the dry ingredients to the wet mixture and mix on low just until the flour disappears.
Do not overmix.
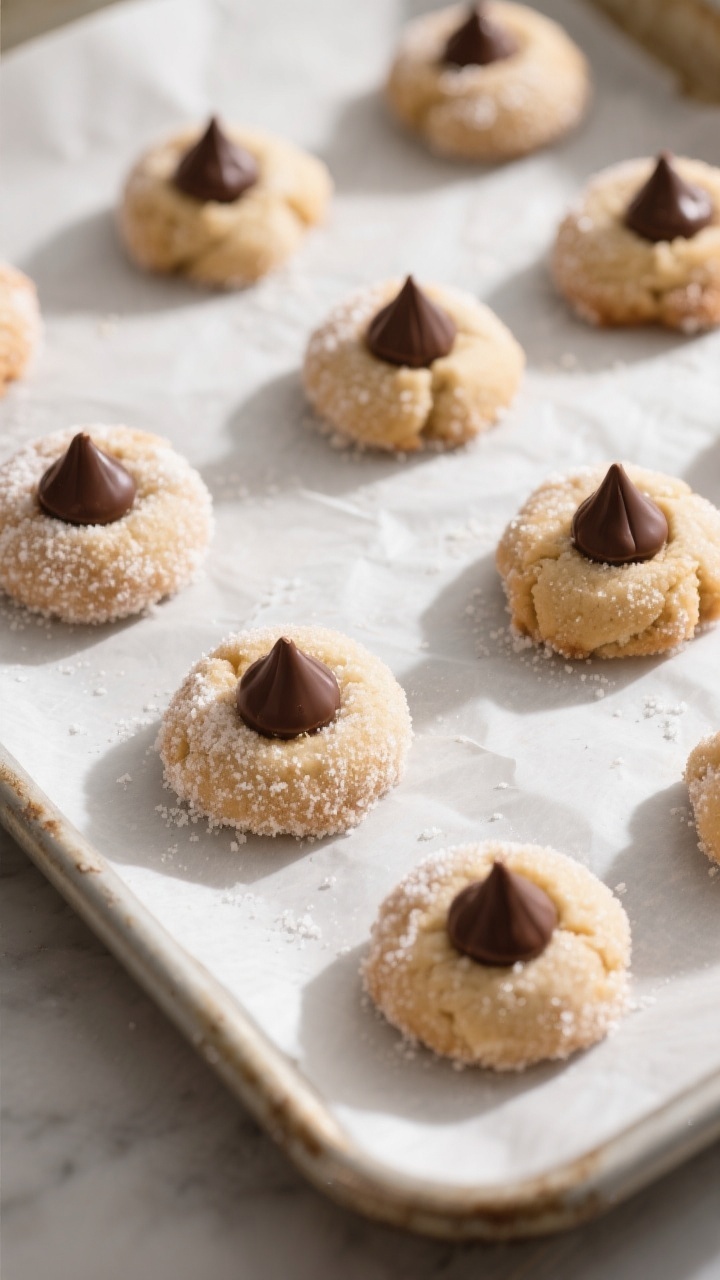
- Shape: Scoop the dough into 1-tablespoon portions and roll into balls. Roll each ball in granulated sugar to coat.
- Bake: Place the sugar-coated dough balls on the prepared sheets, spacing them about 2 inches apart. Bake for 8–10 minutes, until the tops are puffed and the edges are set but not browned.
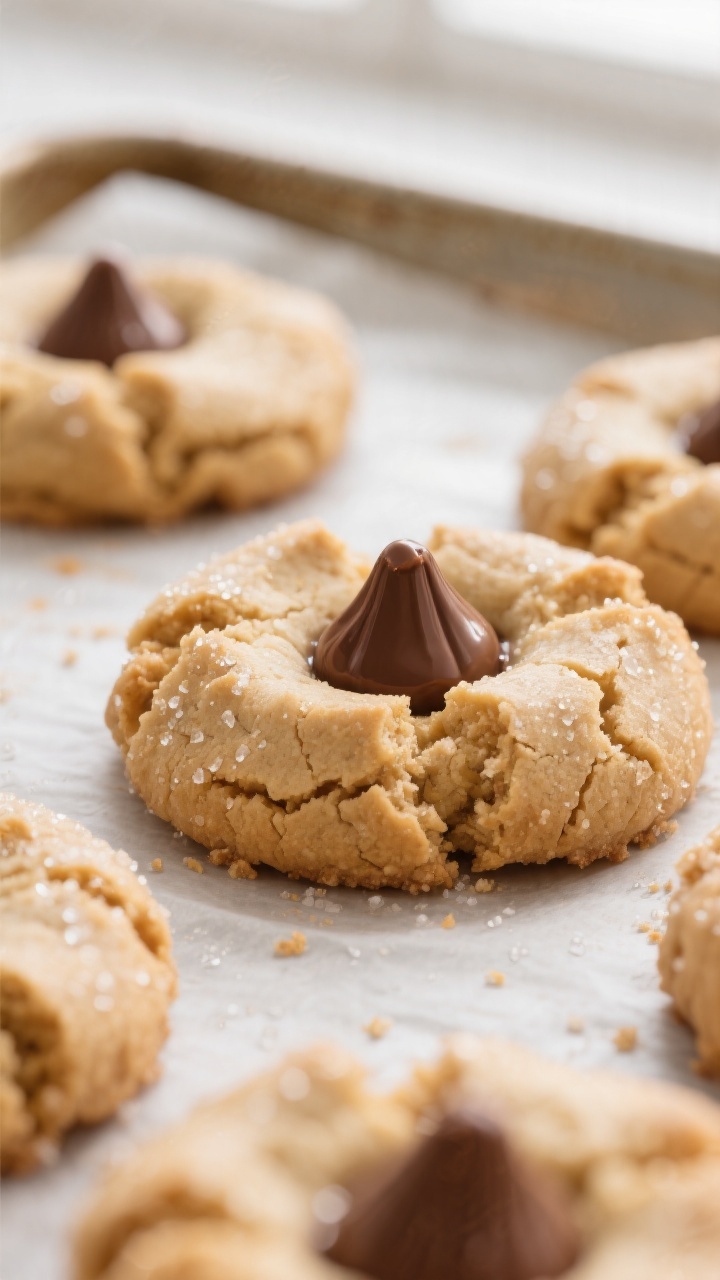
- Press in the chocolate: Remove the cookies from the oven and immediately press one chocolate kiss into the center of each cookie.
The cookie will crack slightly around the edges—that’s perfect.
- Cool: Let the cookies sit on the sheet for 5 minutes, then transfer to a wire rack to cool completely. The chocolate will soften from the warmth, then firm up again as it cools.
- Serve: Enjoy once the chocolate is set, or dig in while it’s still a little melty if that’s your style.
Storage Instructions
- Room temperature: Store in an airtight container for 4–5 days. Layer with parchment paper to protect the chocolate tops.
- Freezing baked cookies: Freeze in a single layer on a sheet until firm, then transfer to a bag or container.
Good for up to 2 months. Thaw at room temperature.
- Freezing the dough: Roll dough balls in sugar and freeze on a tray. Bake from frozen, adding 1–2 minutes to the bake time.
Press in kisses after baking.
- Prevent stickiness: If your kitchen is warm, chill the cookies briefly before stacking so the chocolate doesn’t smear.
Benefits of This Recipe
- Beginner-friendly: Clear steps and forgiving dough make this a great starting cookie for new bakers.
- Kid-approved: The taste is nostalgic and the chocolate kiss makes assembly fun for little helpers.
- Pretty presentation: Sugar sparkle and the central chocolate give bakery-level looks without extra decorating.
- Reliable texture: Soft centers with a gentle outer crust, even the next day.
- Customizable: Easy to adapt with different chocolates or add-ins.
What Not to Do
- Don’t use natural peanut butter with oil separation. It can make the dough greasy and crumbly.
- Don’t overbake. If you wait for deep browning, you’ll lose the soft texture. Pull them when they’re puffed with set edges.
- Don’t press the chocolate before baking. It will melt and lose its shape in the oven.
- Don’t skip the sugar roll. It helps with texture and the signature look.
- Don’t mix the dough too long after adding flour.
Overmixing makes cookies tough.
Variations You Can Try
- Chocolate-peanut butter swap: Use chocolate stars or mini peanut butter cups instead of kisses.
- Cinnamon-sugar twist: Roll dough in a mix of granulated sugar and cinnamon for a warm, snickerdoodle vibe.
- Dark chocolate version: Choose dark chocolate kisses for a richer, less sweet finish.
- Gluten-free: Use a 1:1 gluten-free baking flour with xanthan gum. Watch the bake time closely.
- Mini blossoms: Make 2-teaspoon dough balls and top with chocolate chips or mini kisses. Reduce bake time by 1–2 minutes.
- Peanut crunch: Fold in 1/3 cup finely chopped roasted peanuts for extra texture.
- Salted finish: Add a light sprinkle of flaky sea salt right after pressing in the chocolate for a sweet-salty bite.
FAQ
Can I use natural peanut butter?
Natural peanut butter often separates and can cause greasy, flat cookies.
For best results, use a standard creamy peanut butter that doesn’t separate.
Why did my cookies crack too much?
Some cracking is normal and pretty. Excessive cracking can happen if the dough is dry. Make sure you included the milk, and avoid over-measuring the flour.
Weigh if possible or lightly spoon flour into the cup and level.
How do I keep the chocolate kiss from melting?
Press the kiss into the cookie right after baking, then let the cookie cool untouched. The chocolate will soften from the heat but firm back up as it cools. Avoid stacking until fully set.
Can I make the dough ahead of time?
Yes.
Refrigerate the dough for up to 2 days. Let it sit at room temperature for 15–20 minutes before rolling so it’s easy to shape and coat in sugar.
What if I only have salted butter?
Use salted butter and reduce the added salt to a pinch. The cookies will still taste great.
Do I need a mixer?
A hand or stand mixer makes creaming easier, but you can mix by hand with a sturdy spatula.
Make sure the butter is softened and take extra time to beat until fluffy.
How many cookies does this make?
You’ll get about 30–36 cookies, depending on the size of your dough balls and the scoop you use.
Can I make them dairy-free?
Use a dairy-free butter alternative and a plant-based milk. Texture may be slightly different, but the cookies will still be delicious.
Why are my cookies dry the next day?
They may have overbaked. Next time, pull them sooner.
For now, store with a slice of bread in the container to add a bit of moisture back.
Can I add cocoa to the dough?
Yes. Replace 2 tablespoons of the flour with cocoa powder for a subtle chocolate-peanut butter base. Keep the rest of the recipe the same.
Final Thoughts
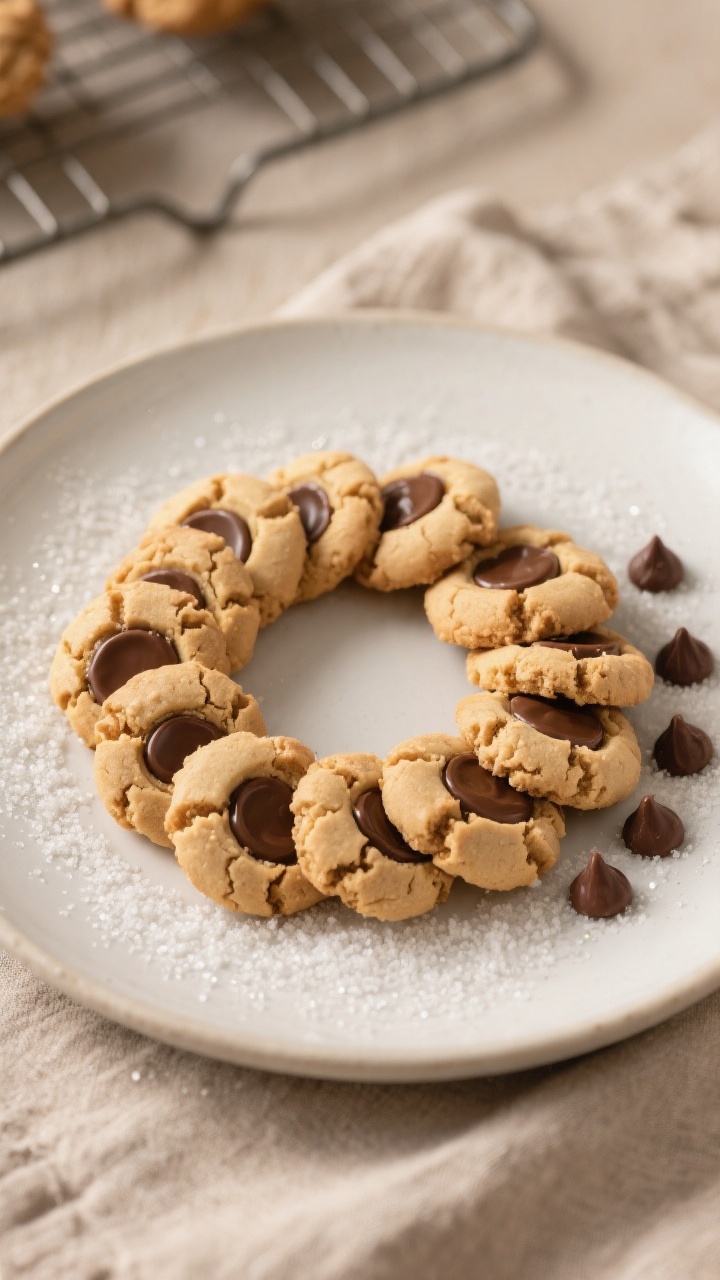
Peanut Butter Blossom Cookies deliver big comfort with simple ingredients and easy steps.
They look festive, taste familiar, and stay soft long enough to share—or keep for yourself. Once you make a batch, you’ll see why they never go out of style. Keep a bag of chocolate kisses in the pantry, and you’re always one quick bake away from a crowd-pleaser.
Peanut Butter Blossom Cookies
Ingredients
- 1/2 cup (1 stick) unsalted butter, softened
- 1/2 cup creamy peanut butter (not natural; use a standard brand for best texture)
- 1/2 cup granulated sugar, plus more for rolling
- 1/2 cup packed light brown sugar
- 1 large egg, at room temperature
- 1 teaspoon vanilla extract
- 1 tablespoon milk (whole or 2%)
- 1 1/2 cups all-purpose flour
- 1 teaspoon baking soda
- 1/2 teaspoon kosher salt
- About 36 chocolate kiss candies, unwrapped
Instructions
- Preheat and prepare: Heat your oven to 350°F (175°C). Line two baking sheets with parchment paper.
- Cream the fats and sugars: In a large bowl, beat the butter, peanut butter, granulated sugar, and brown sugar until light and fluffy, about 2–3 minutes. This step builds structure and keeps the cookies soft.
- Add wet ingredients: Beat in the egg, vanilla, and milk until smooth and well combined. Scrape down the bowl as needed.
- Whisk dry ingredients: In a separate bowl, whisk together the flour, baking soda, and salt.
- Combine: Add the dry ingredients to the wet mixture and mix on low just until the flour disappears. Do not overmix.
- Shape: Scoop the dough into 1-tablespoon portions and roll into balls. Roll each ball in granulated sugar to coat.
- Bake: Place the sugar-coated dough balls on the prepared sheets, spacing them about 2 inches apart. Bake for 8–10 minutes, until the tops are puffed and the edges are set but not browned.
- Press in the chocolate: Remove the cookies from the oven and immediately press one chocolate kiss into the center of each cookie. The cookie will crack slightly around the edges—that’s perfect.
- Cool: Let the cookies sit on the sheet for 5 minutes, then transfer to a wire rack to cool completely. The chocolate will soften from the warmth, then firm up again as it cools.
- Serve: Enjoy once the chocolate is set, or dig in while it’s still a little melty if that’s your style.
Printable Recipe Card
Want just the essential recipe details without scrolling through the article? Get our printable recipe card with just the ingredients and instructions.


